Introduction
Beavers are potentially of the most useful animal in nature, and the saying “involved as a beaver” is especially secured! If they aren’t felling trees, these little animals are making dams in streams and streams. Learn this blog and visit the latest drawing tutorials like corgi drawing for kids.
While much of the time associated with Canada, they can in like manner be found in two or three spots generally through the world. They are in like manner uncommonly renowned, and numerous lovers of the critter could have to know how to draw a beaver. If you are one of those fans, look no farther than this associate! Our step by step guide on the most capable strategy to draw a beaver will let you know the most effective way to draw one of these persevering creatures.
Stage 1 – beaver Drawing
In this underlying fragment of our helper on the most capable strategy to draw a beaver, we will be starting with the enchanting little face of the beaver. In any case, you can use a little, changed oval shape for specific sharp concentrations at the terminations for the eye of the beaver.
Then, we will draw the head and neck. For this, we will use a genuinely spiked line to show that the beaver is fluffy. We will moreover be adding the nose at the super left 50% of the face, and we will in like manner draw the mouth with a fundamental line. That will cover off this underlying step, and next we will forge ahead toward stage 2.
Stage 2 – Next, draw the front legs and the back of the beaver
We will add the front legs and one more nuances in this step of your beaver drawing. In any case, use a couple of extra spiked, fluffy lines for the underpinning of the legs and subsequently add a couple of little paws to the terminations of them. Then, you can use another harsh, twisted line for the belly.
Finally for this step, we will extend the back of the beaver further down, and this line will moreover be thorned like the others that we have used to show how shaggy the beaver is.
Stage 3 – As of now, move the back legs of the beaver
This moment is the perfect open door to move the back legs of the critter in this third step of our helper on the most capable technique to draw a beaver. For the bend of this leg, we will use that harsh line you should be truly used to drawing as of now!
Then, at that point, we will step the back feet. Unlike the underlying ones, these ones will be longer and praise against the ground. At the point when you have these legs looking as they do in our reference picture then, you’re ready for the accompanying stages, so we ought to proceed!
Stage 4 – Next, draw the tail and fibers of the beaver
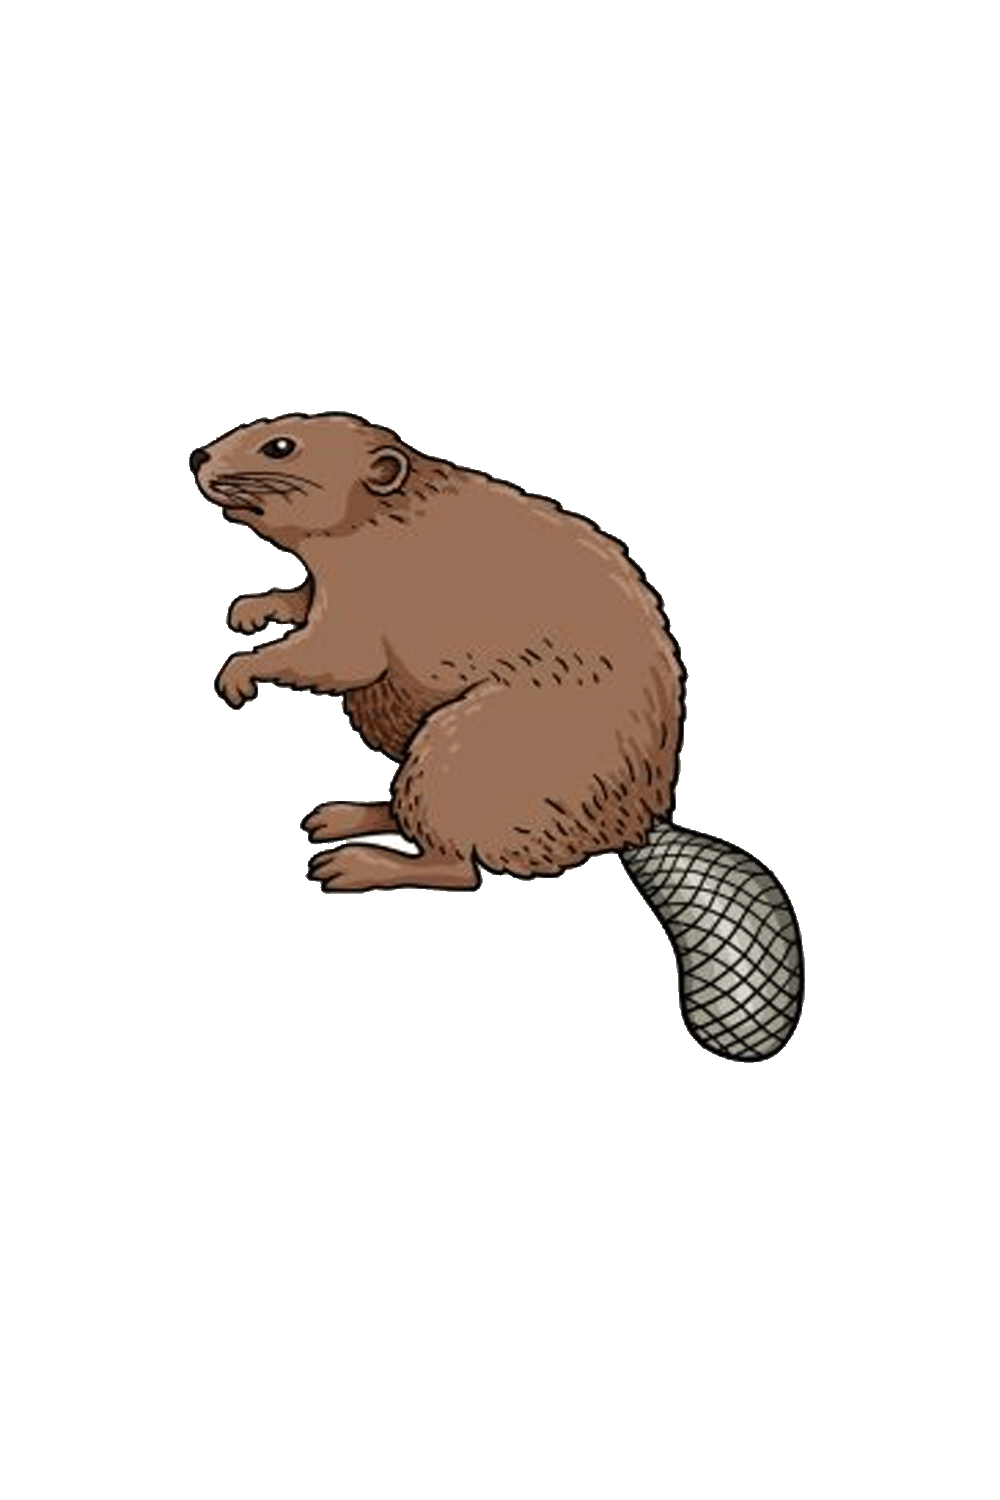
One of the numerous particular components of a beaver is its tremendous, level tail. That will be the essential part we will incorporate this piece of your beaver drawing. Out of the blue, we won’t use a fluffy, thorned line anyway will rather use a smooth, twisted line at the back of the beaver to make the tail.
There should be a little opening between the lower part of the tail and the rest of the body, and that will be your last an open door to characterize that shaggy kind of limit as you interface this empty space. Then, at that point, before you forge ahead with you can add loads of feeble lines to the face for the fibers of the beaver. Then, we essentially have two or three distinct nuances to remember the accompanying stage before you assortment for your drawing.
Stage 5 – By and by, you can finish the last nuances of your beaver drawing
This step of our helper on the most capable technique to draw a beaver will be connected to wrapping it up for specific last nuances to have you arranged for some concealing fun in the last step! In any case, we will focus in on the tail of the beaver. The condition of this tail isn’t the vitally famous thing about it, as it similarly has a genuinely unique and unforgiving surface to it.
To make this surface, we will use something of a crosshatch influence on the tail. This step could require a hint of resistance and a predictable hand, but it will look really cool when done! At the point when you have the tail looking as it does in our reference picture then you can finish various nuances. You can in like manner add heaps of little lines generally through within the beaver’s body. Then, you can moreover add your own personal few nuances like an establishment or various animals, for just two contemplations. We can scarcely clutch see your thought process of!
Stage 6 – Finish your beaver drawing with some tone
You have wrapped up drawing every one of the last nuances of your beaver drawing, and by and by you can loosen up with a concealing pleasant to clean it off! In our reference picture, we used a good shades of brown to assortment in the beaver, yet this is just our thought. You should feel free to use any shades and assortments that you want for this picture. This is a fantastic chance to deliver your creative mind and put yourself out there with colors!
You can moreover assortment in the background or various parts that you could have added. Then, at that point, you can meddle with your #1 workmanship contraptions and mediums to help with reviving these assortments. We will expect to see the way that you articulate your considerations in this last piece of your beaver drawing!